MCP Router Tutorial
MCP Router Setup Steps
- Download the MCP Router app.
- Launch the app.
- Add MCP servers.
- Connect external apps (e.g., Claude) with MCP Router.
- Configure access control as needed.
- Check logs and monitor MCP server status.
Adding MCP Servers
Download and launch the app. When you start the app, if you have already configured an MCP server in a compatible application like Claude, the settings will be automatically imported. This means you can start the MCP server with just one click after launching the app.
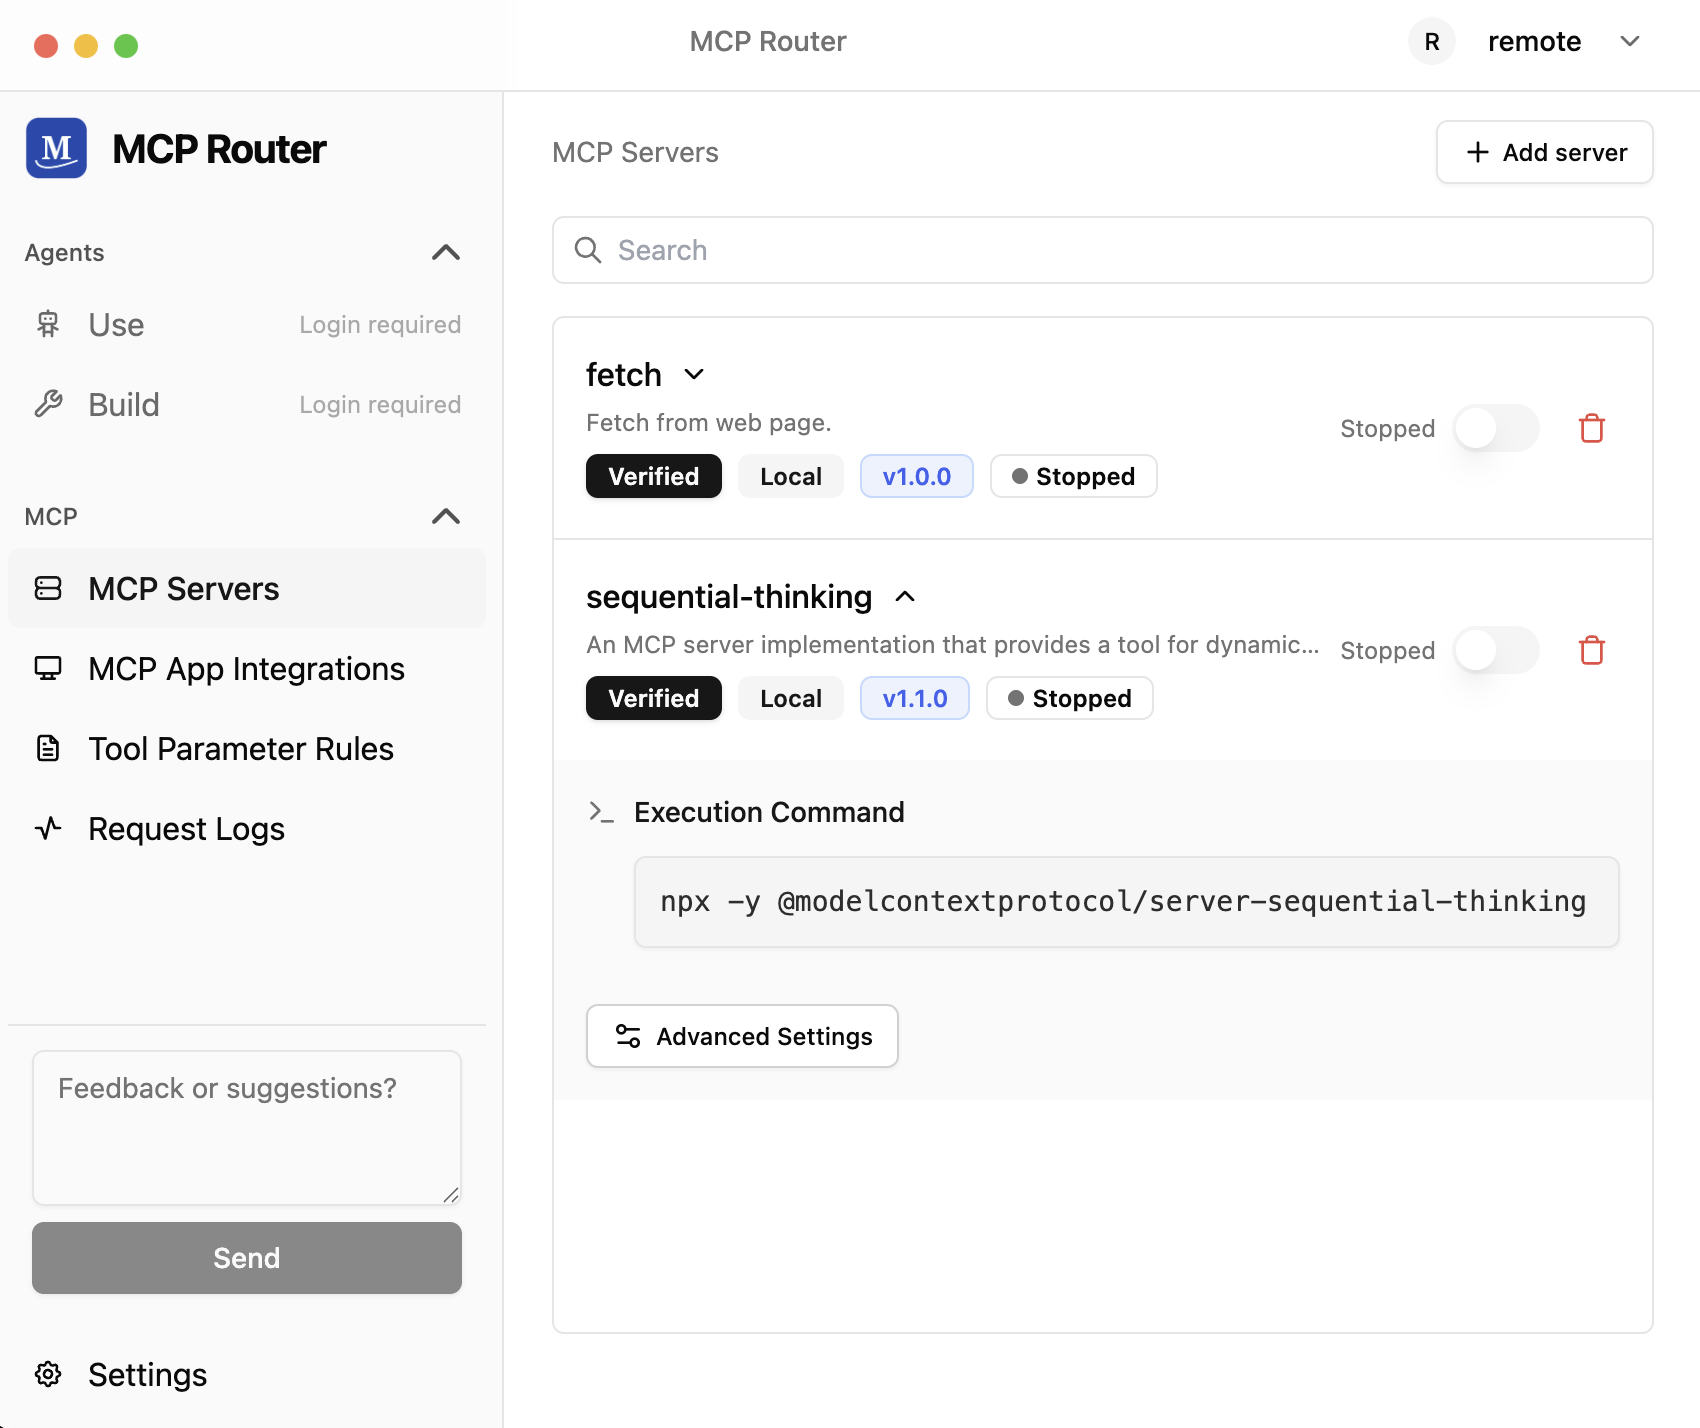
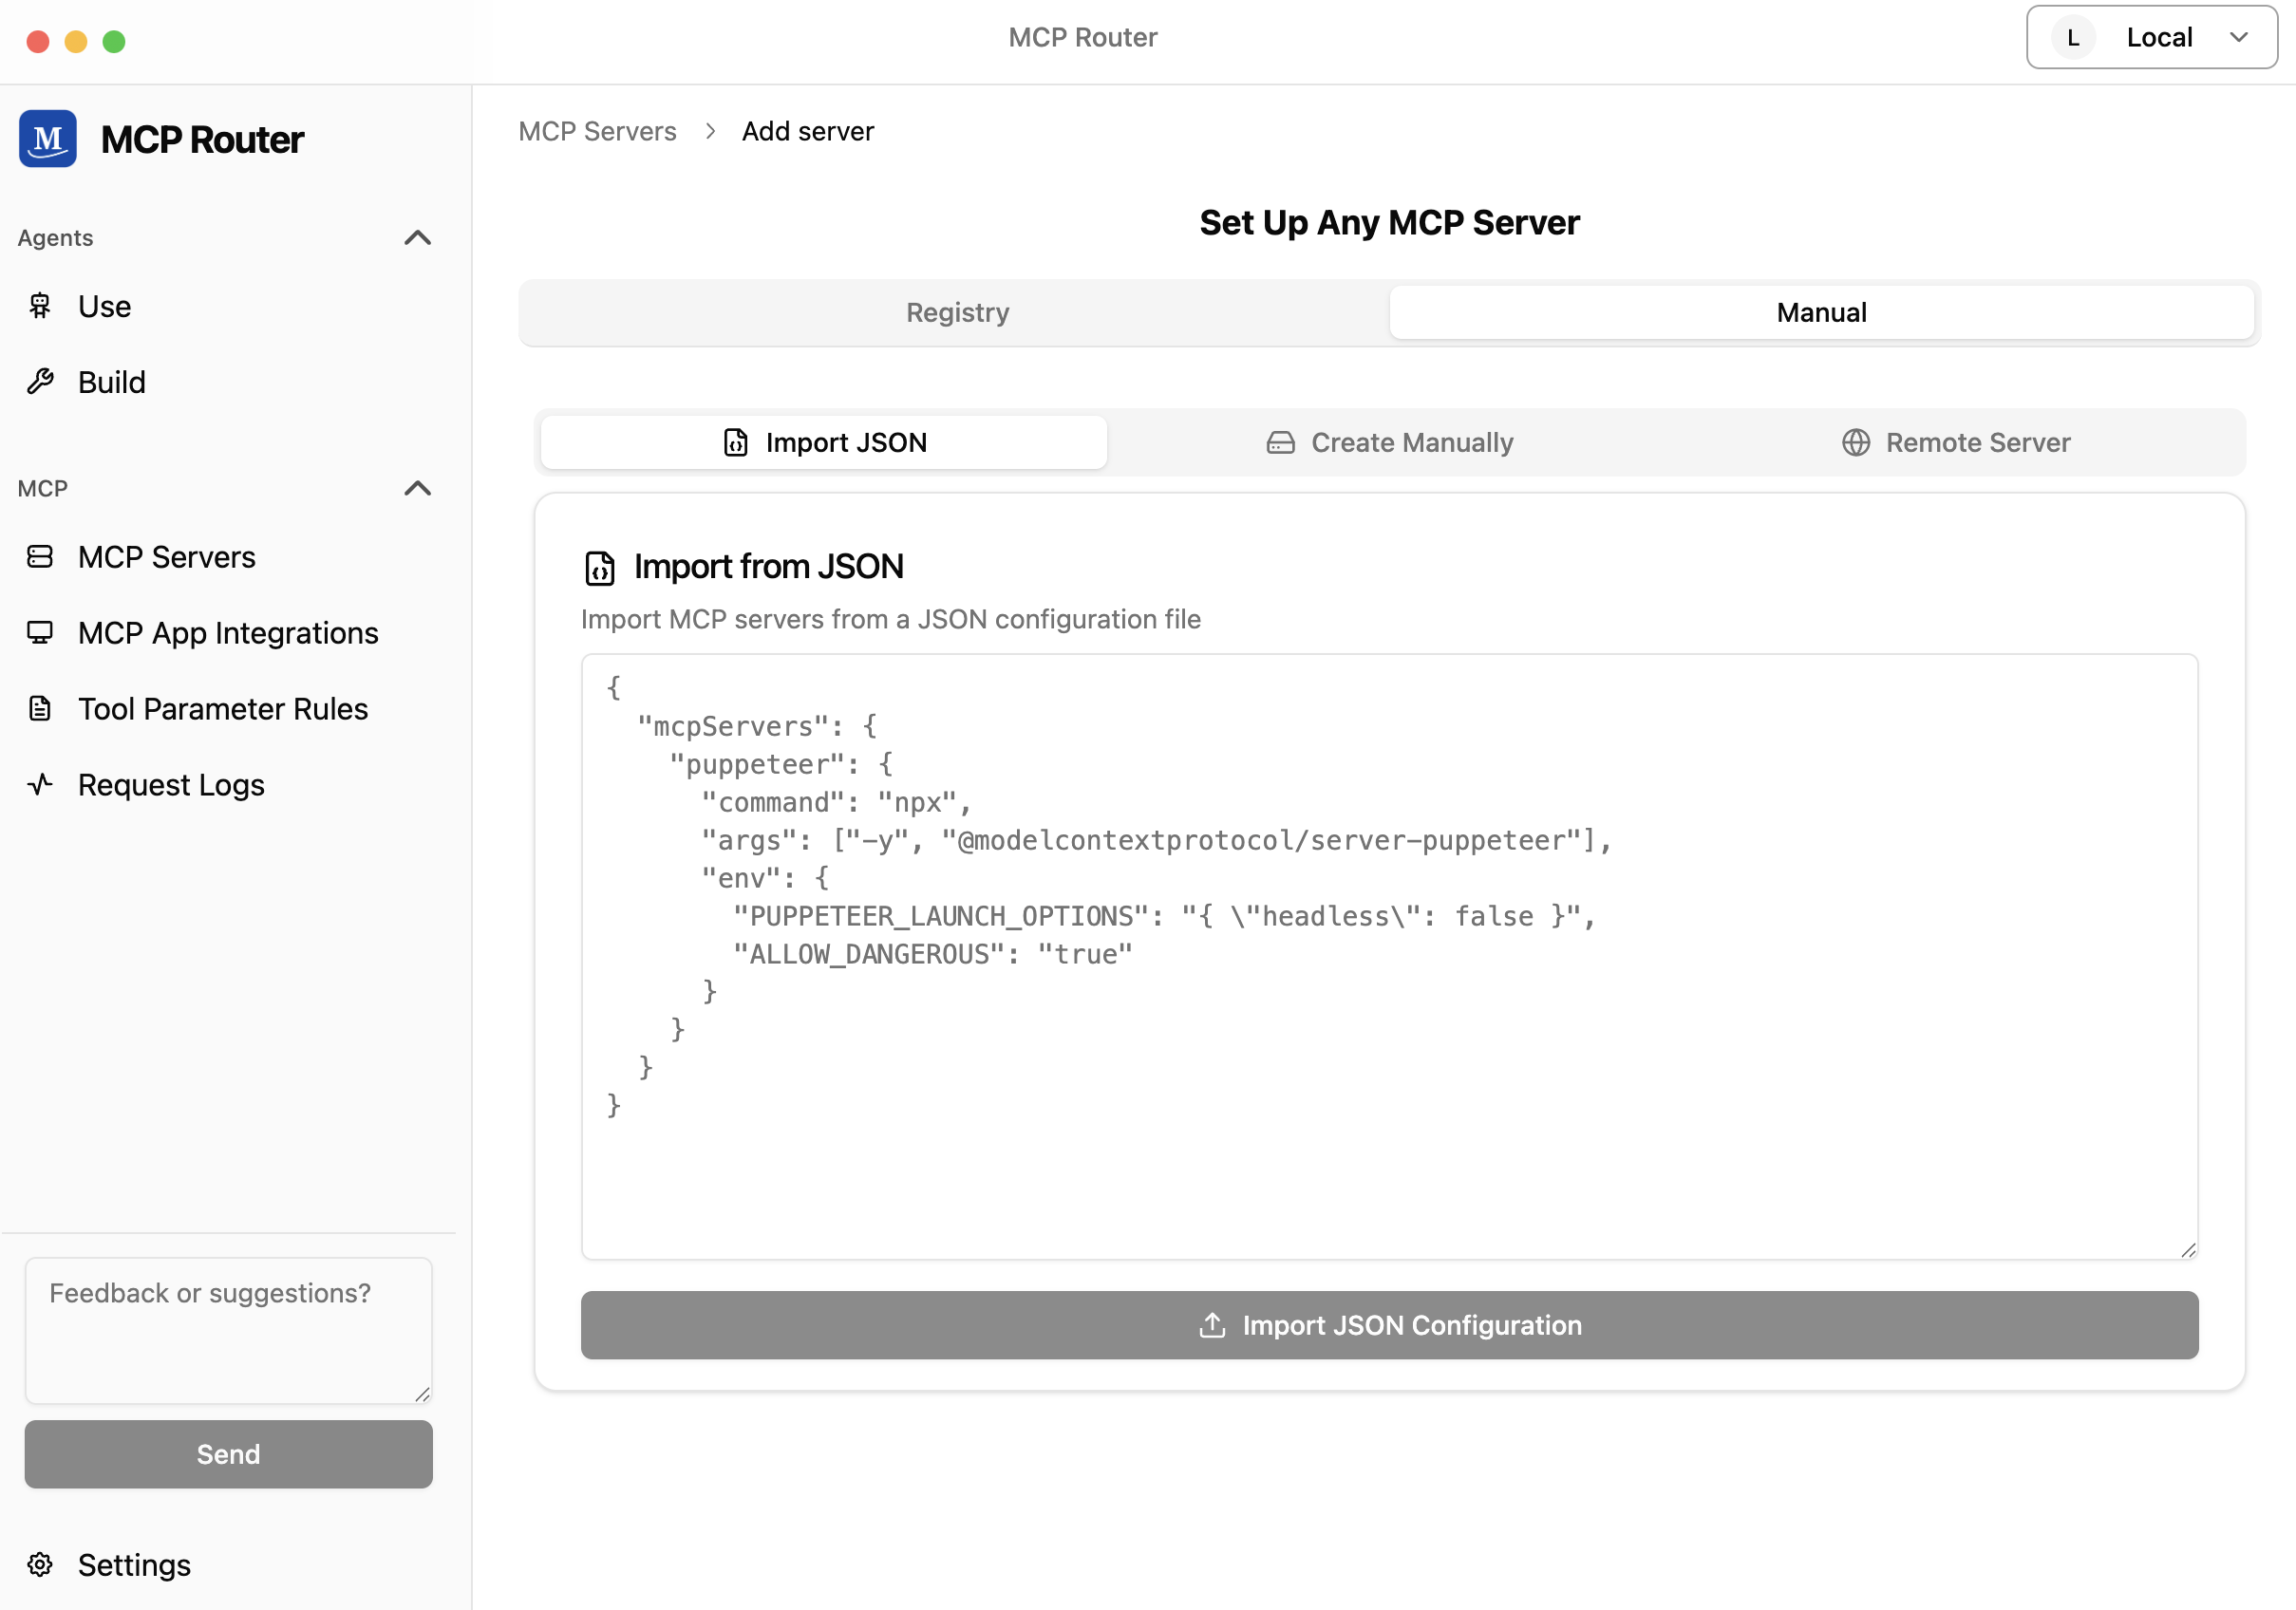
If the settings are not yet configured, you can easily add them right away.
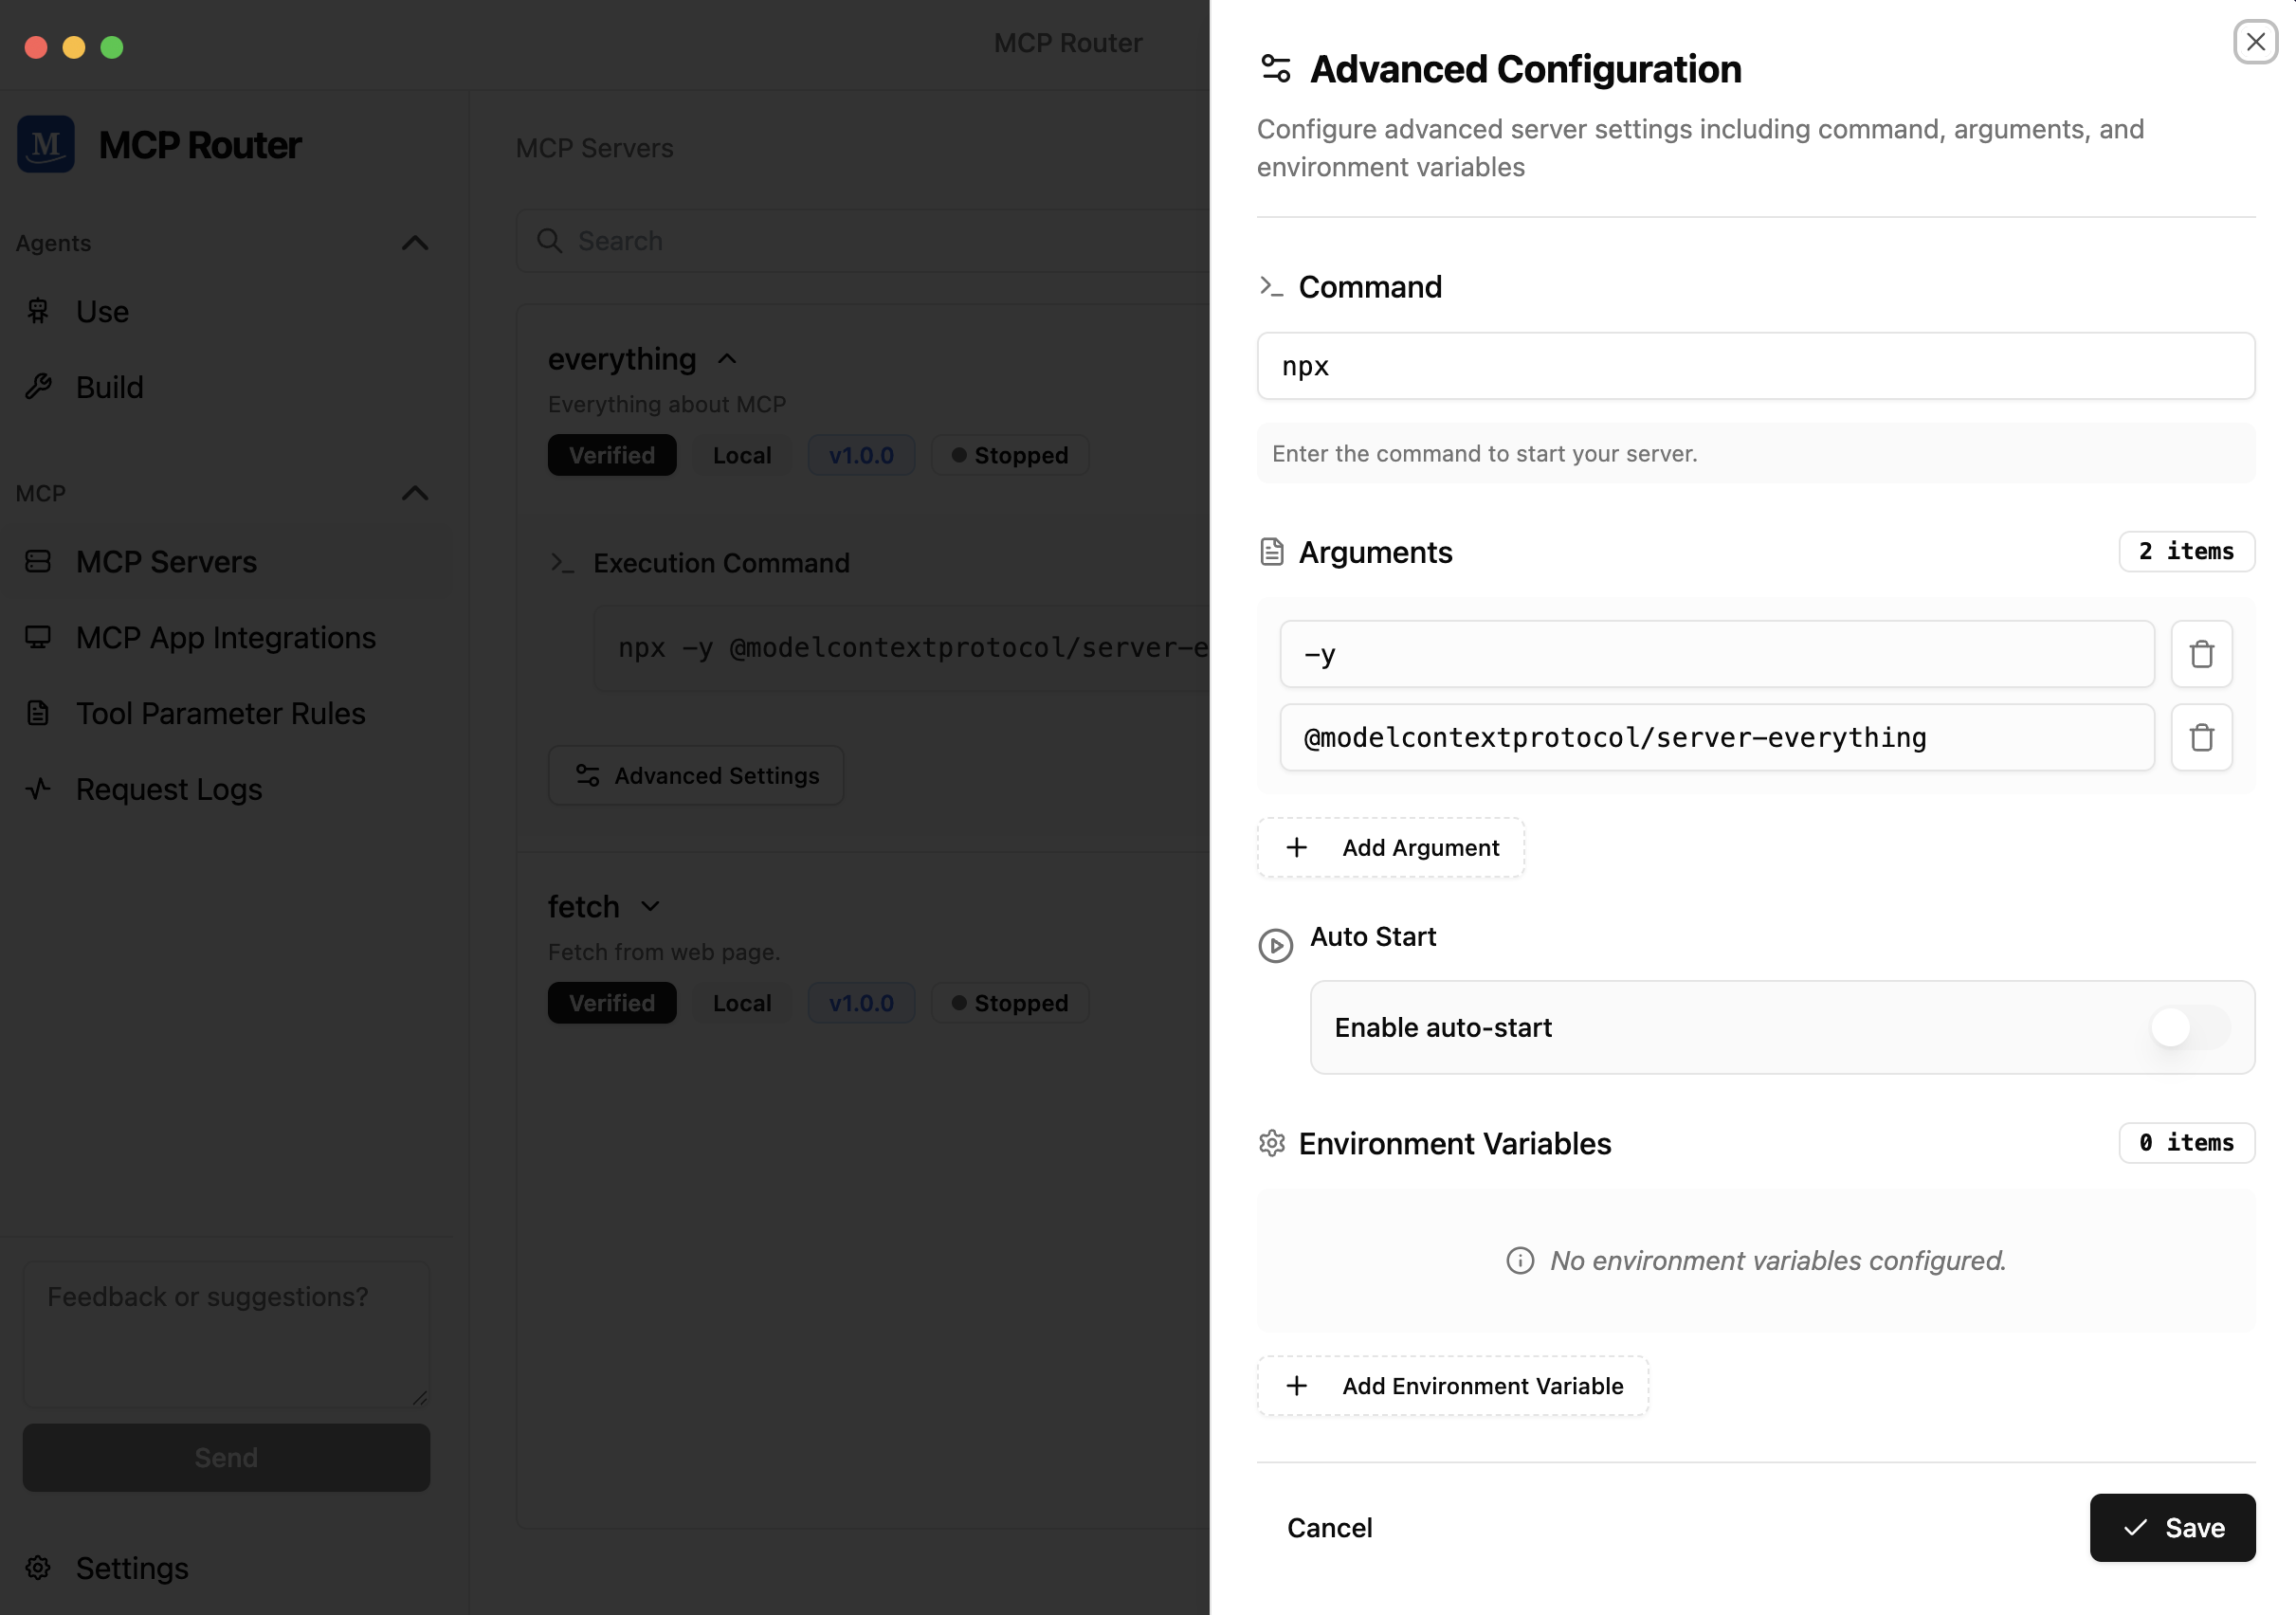
Editing MCP server settings is simple.
Connecting with Other Apps
Once you've launched the MCP server, configure the connections with other applications.
MCP Router supports all MCP-compatible applications.
Some applications can be connected with just one click.
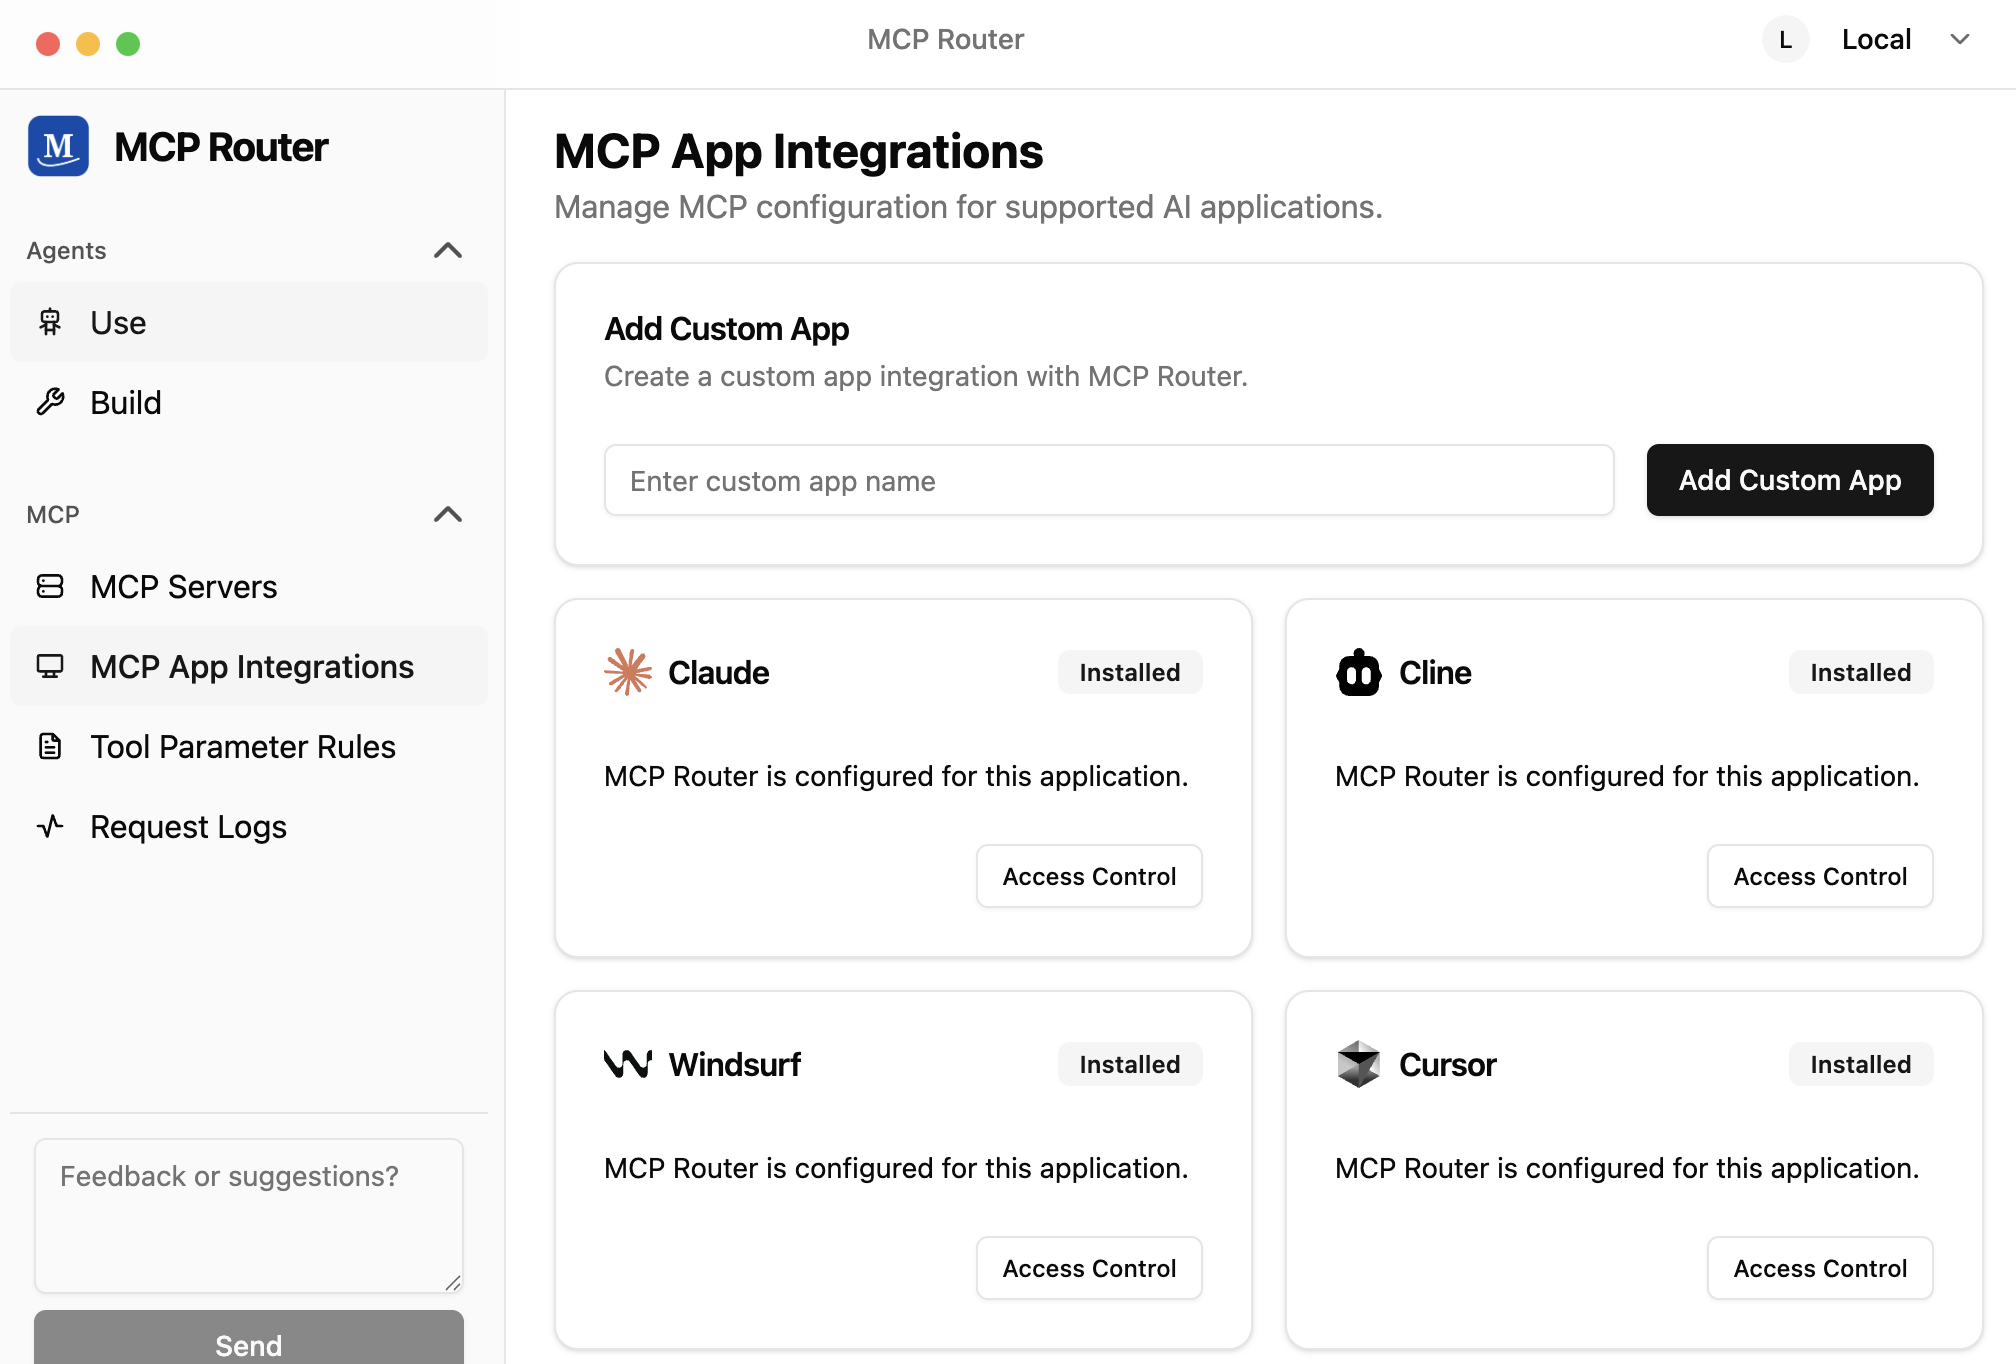
For applications not in the list, follow these steps:
- Add the app from "Add Custom App"
- The MCP configuration will be displayed as shown below
- Enter the MCP configuration into the app
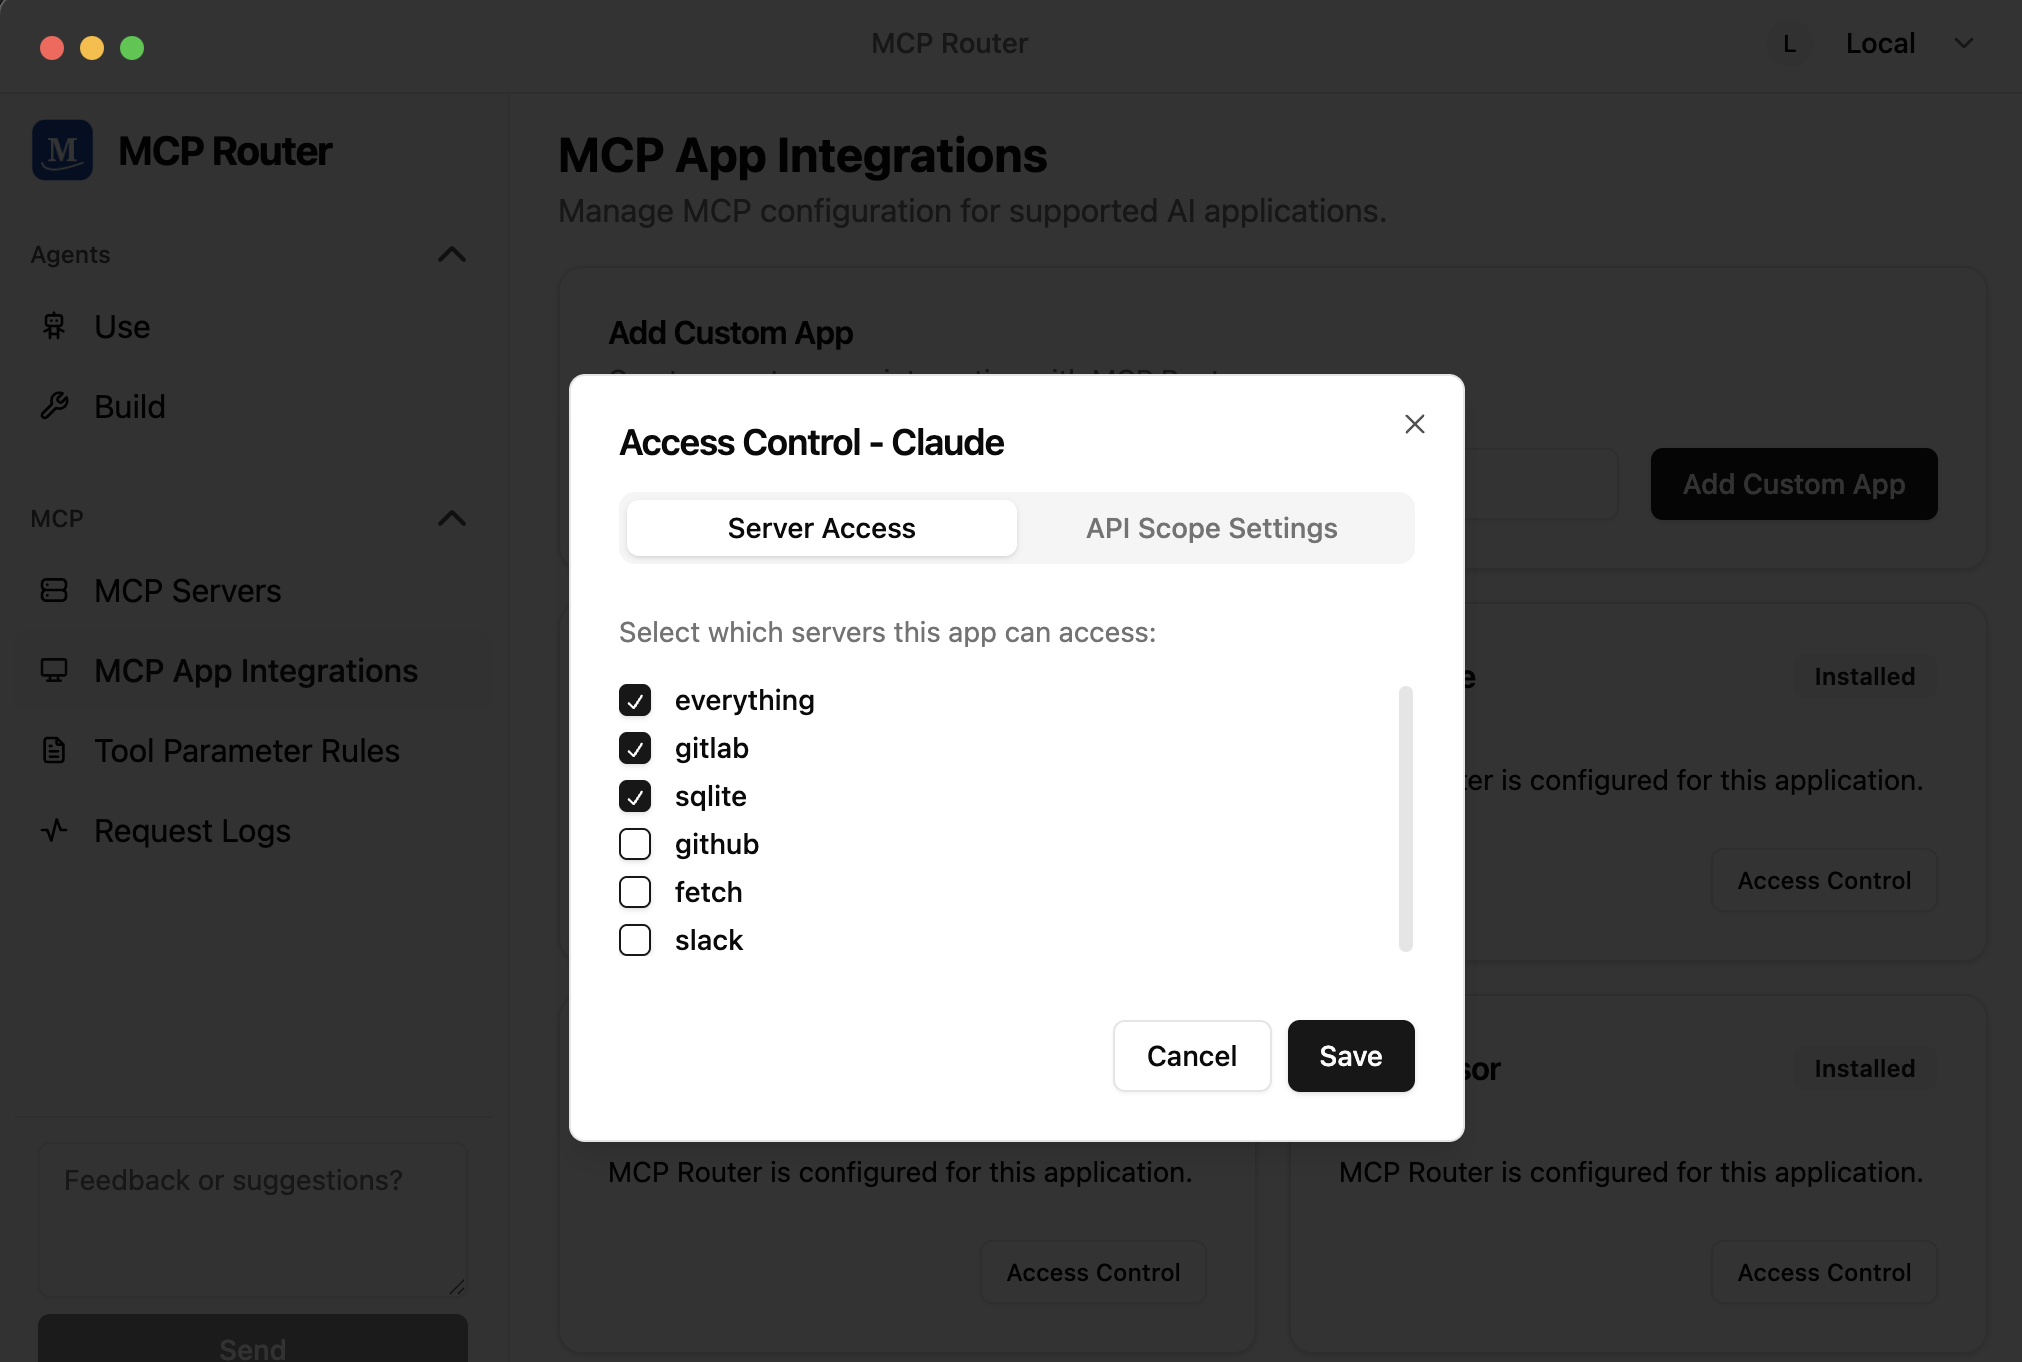
Access Control
MCP Router provides access control to manage which applications can access specific MCP servers.
Permission Configuration:
- Control server access on a per-application basis
- Enable or disable specific apps from accessing certain servers
- Manage permissions through an intuitive interface
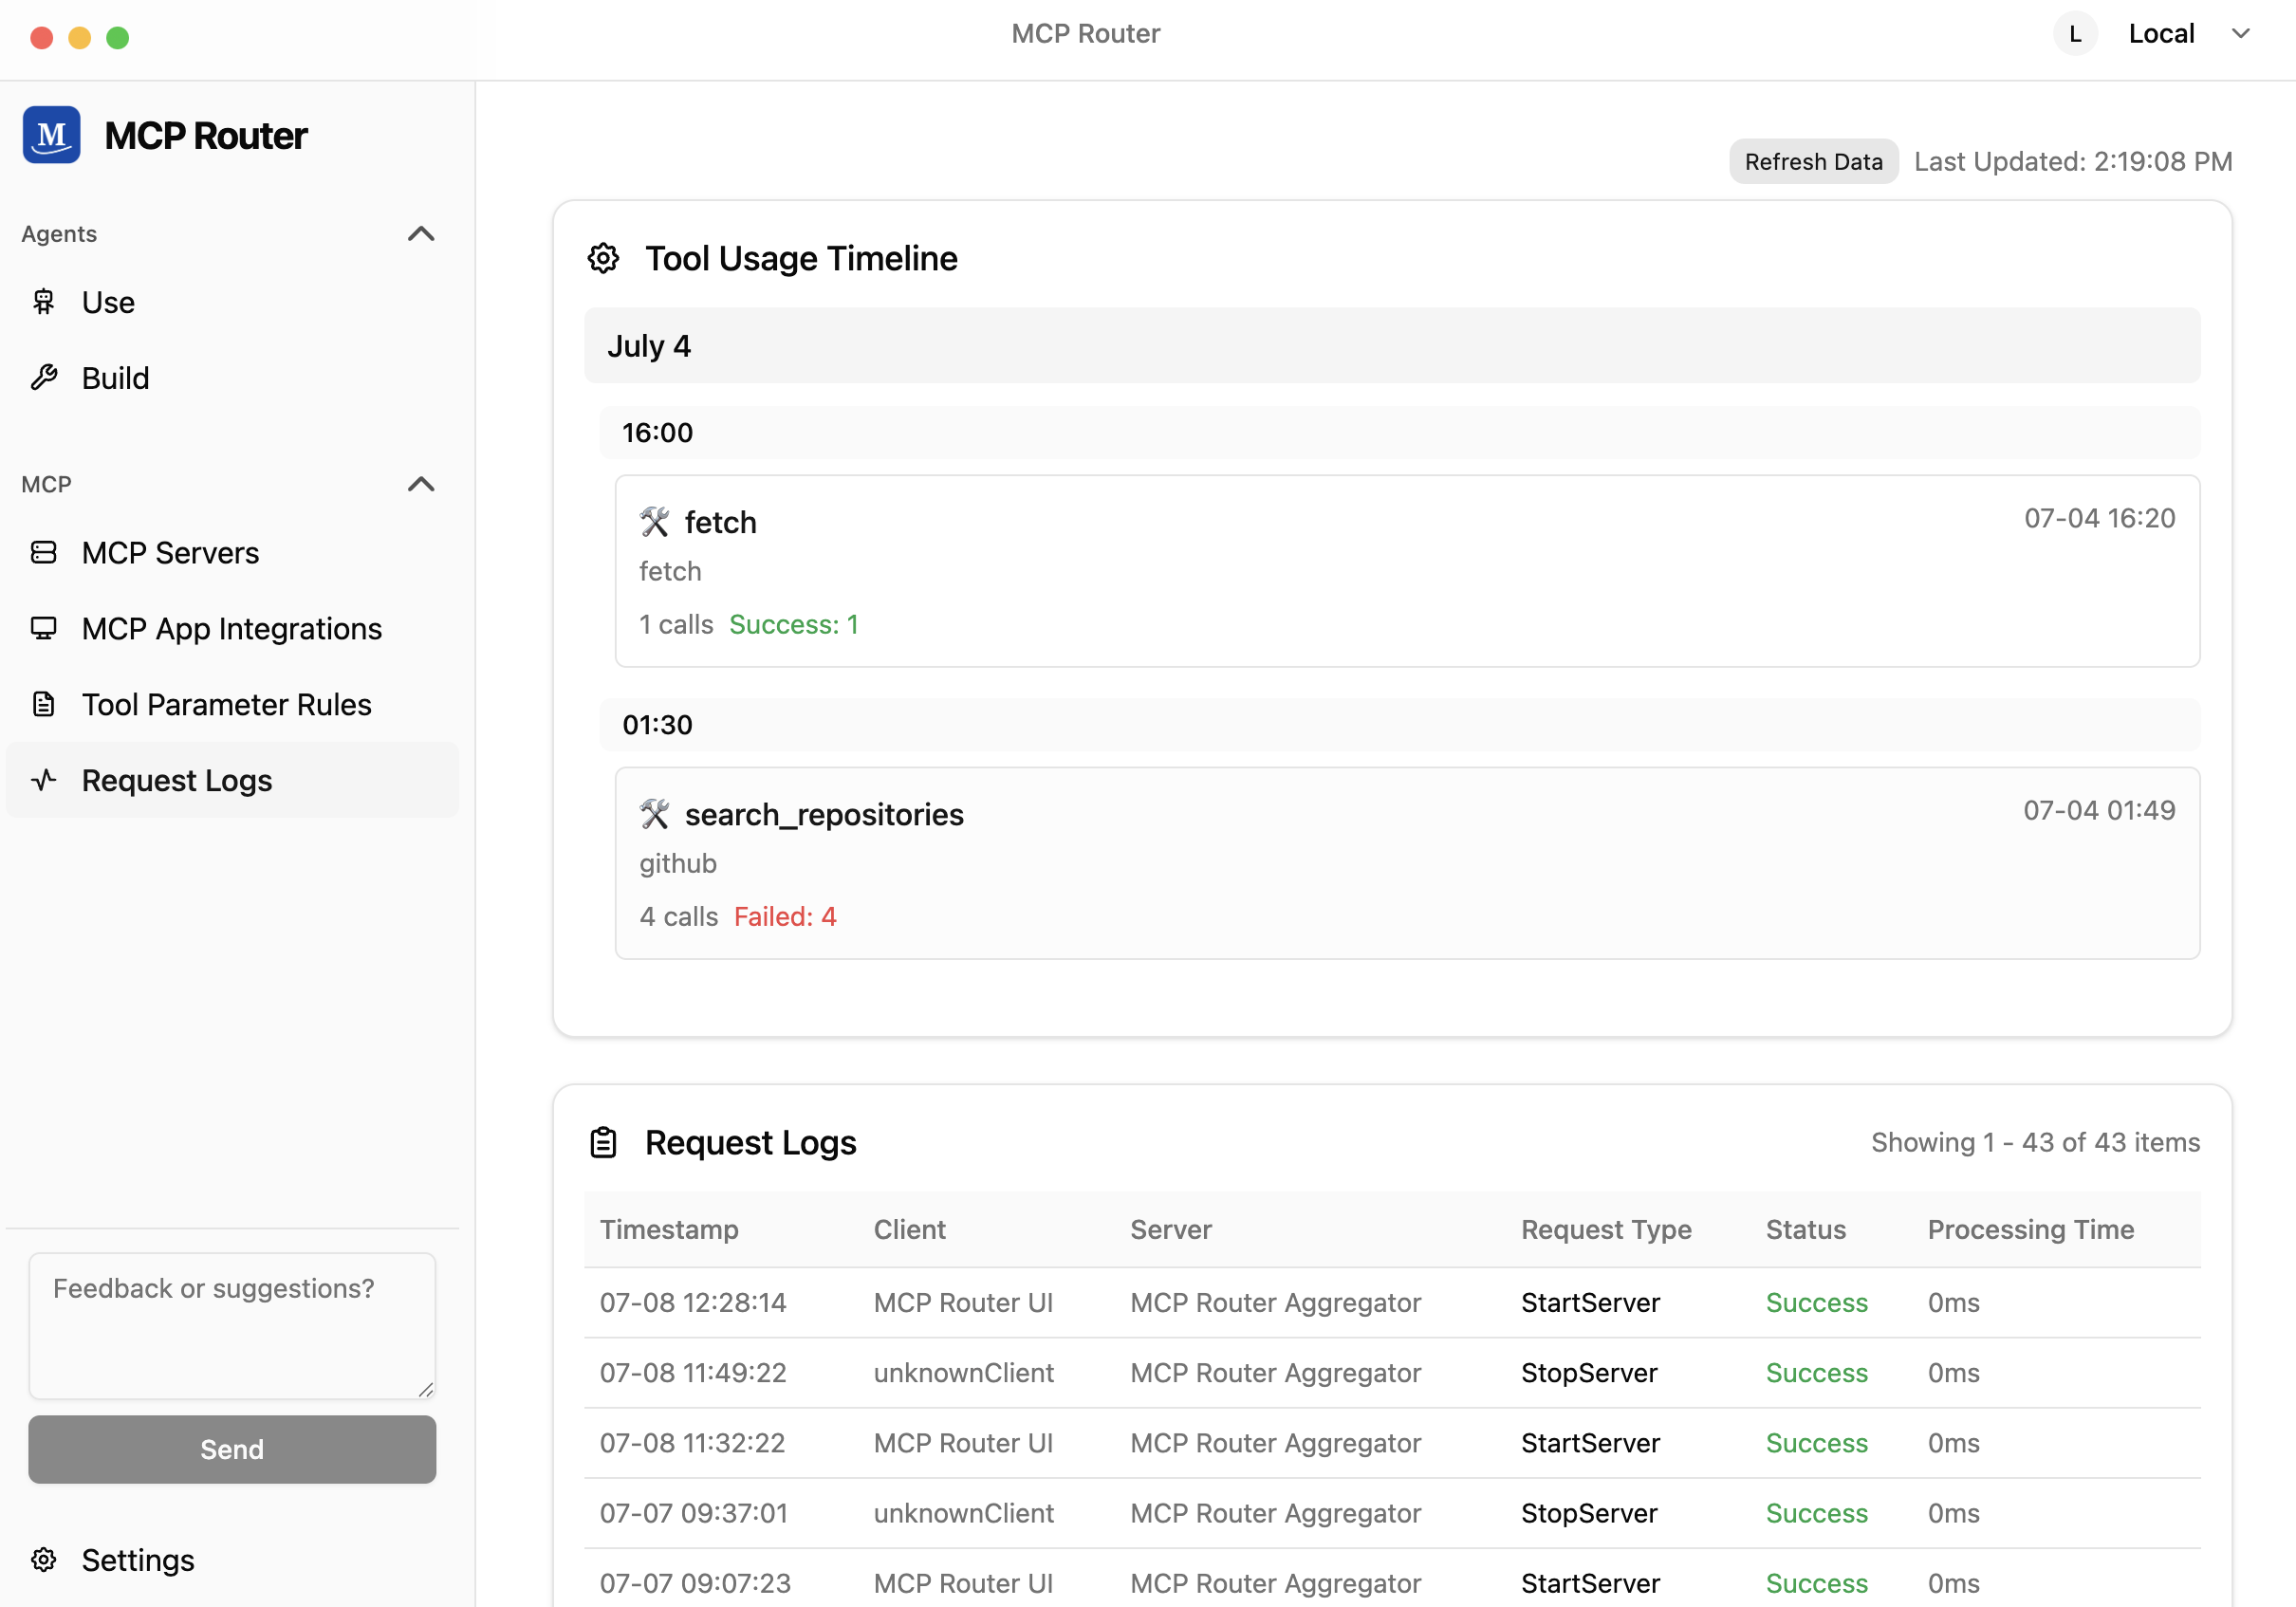
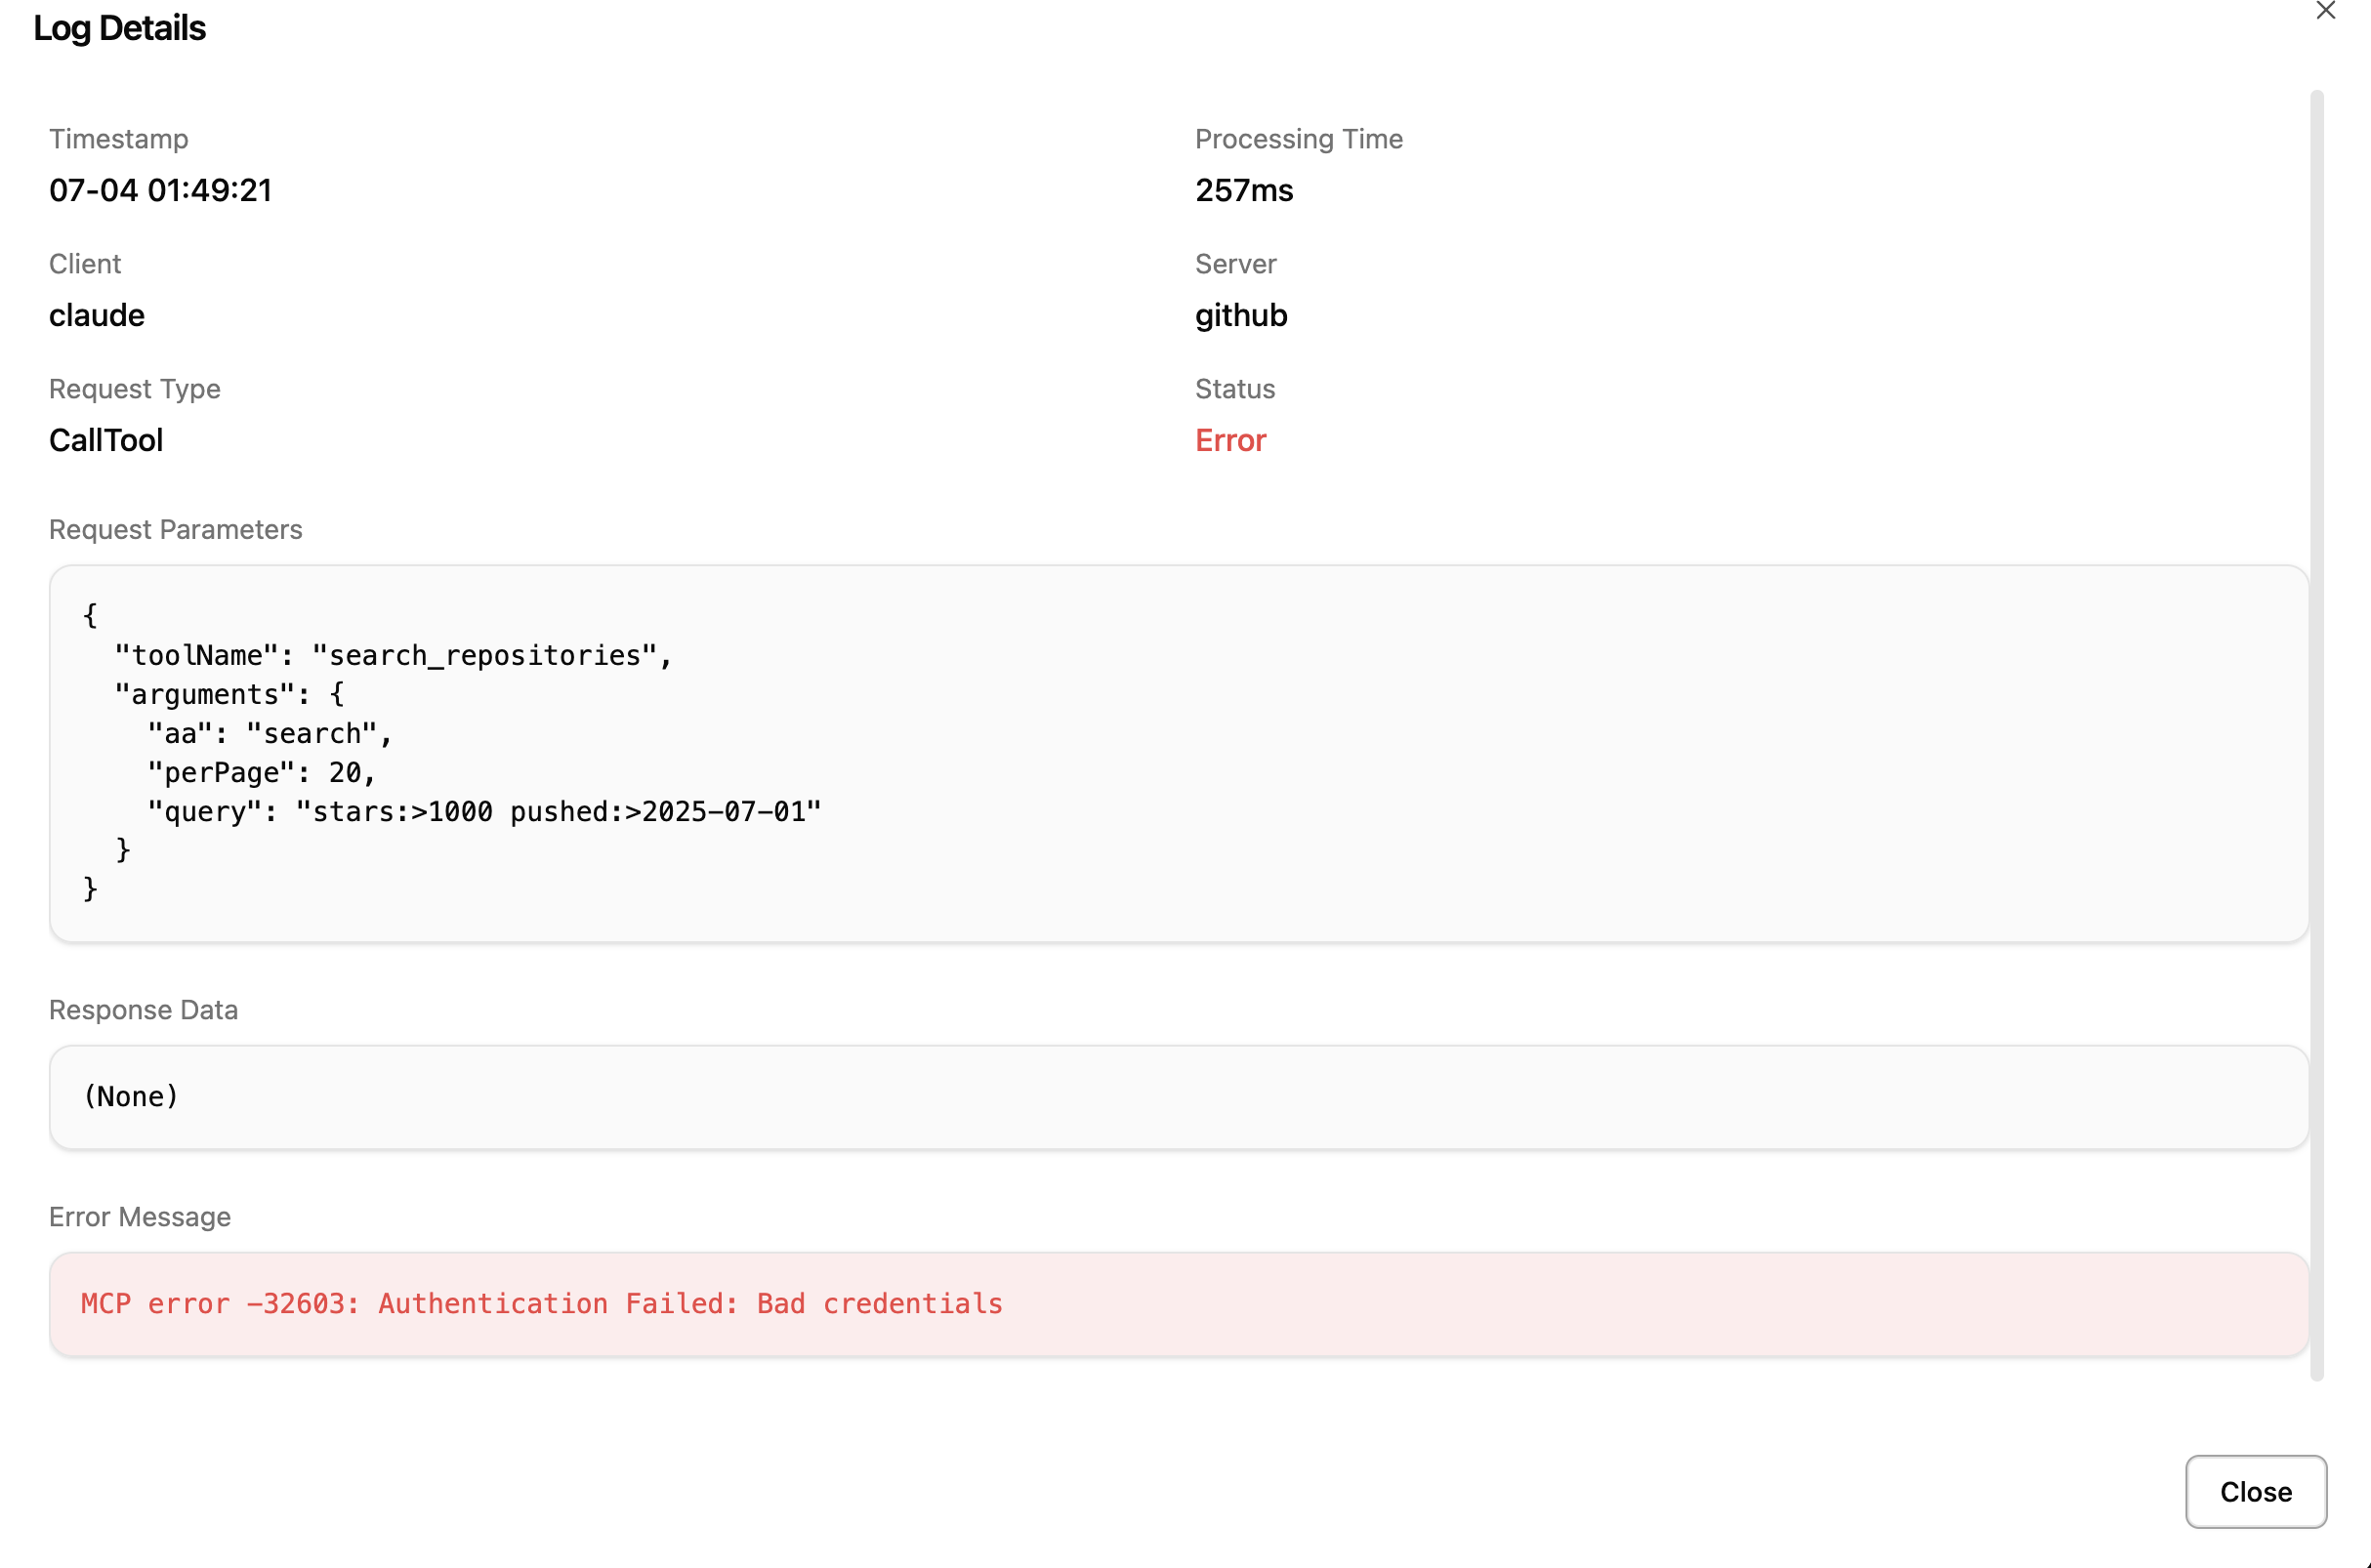
Logging
MCP Router provides logging for MCP server requests and responses.
This enables tracking usage patterns and debugging.
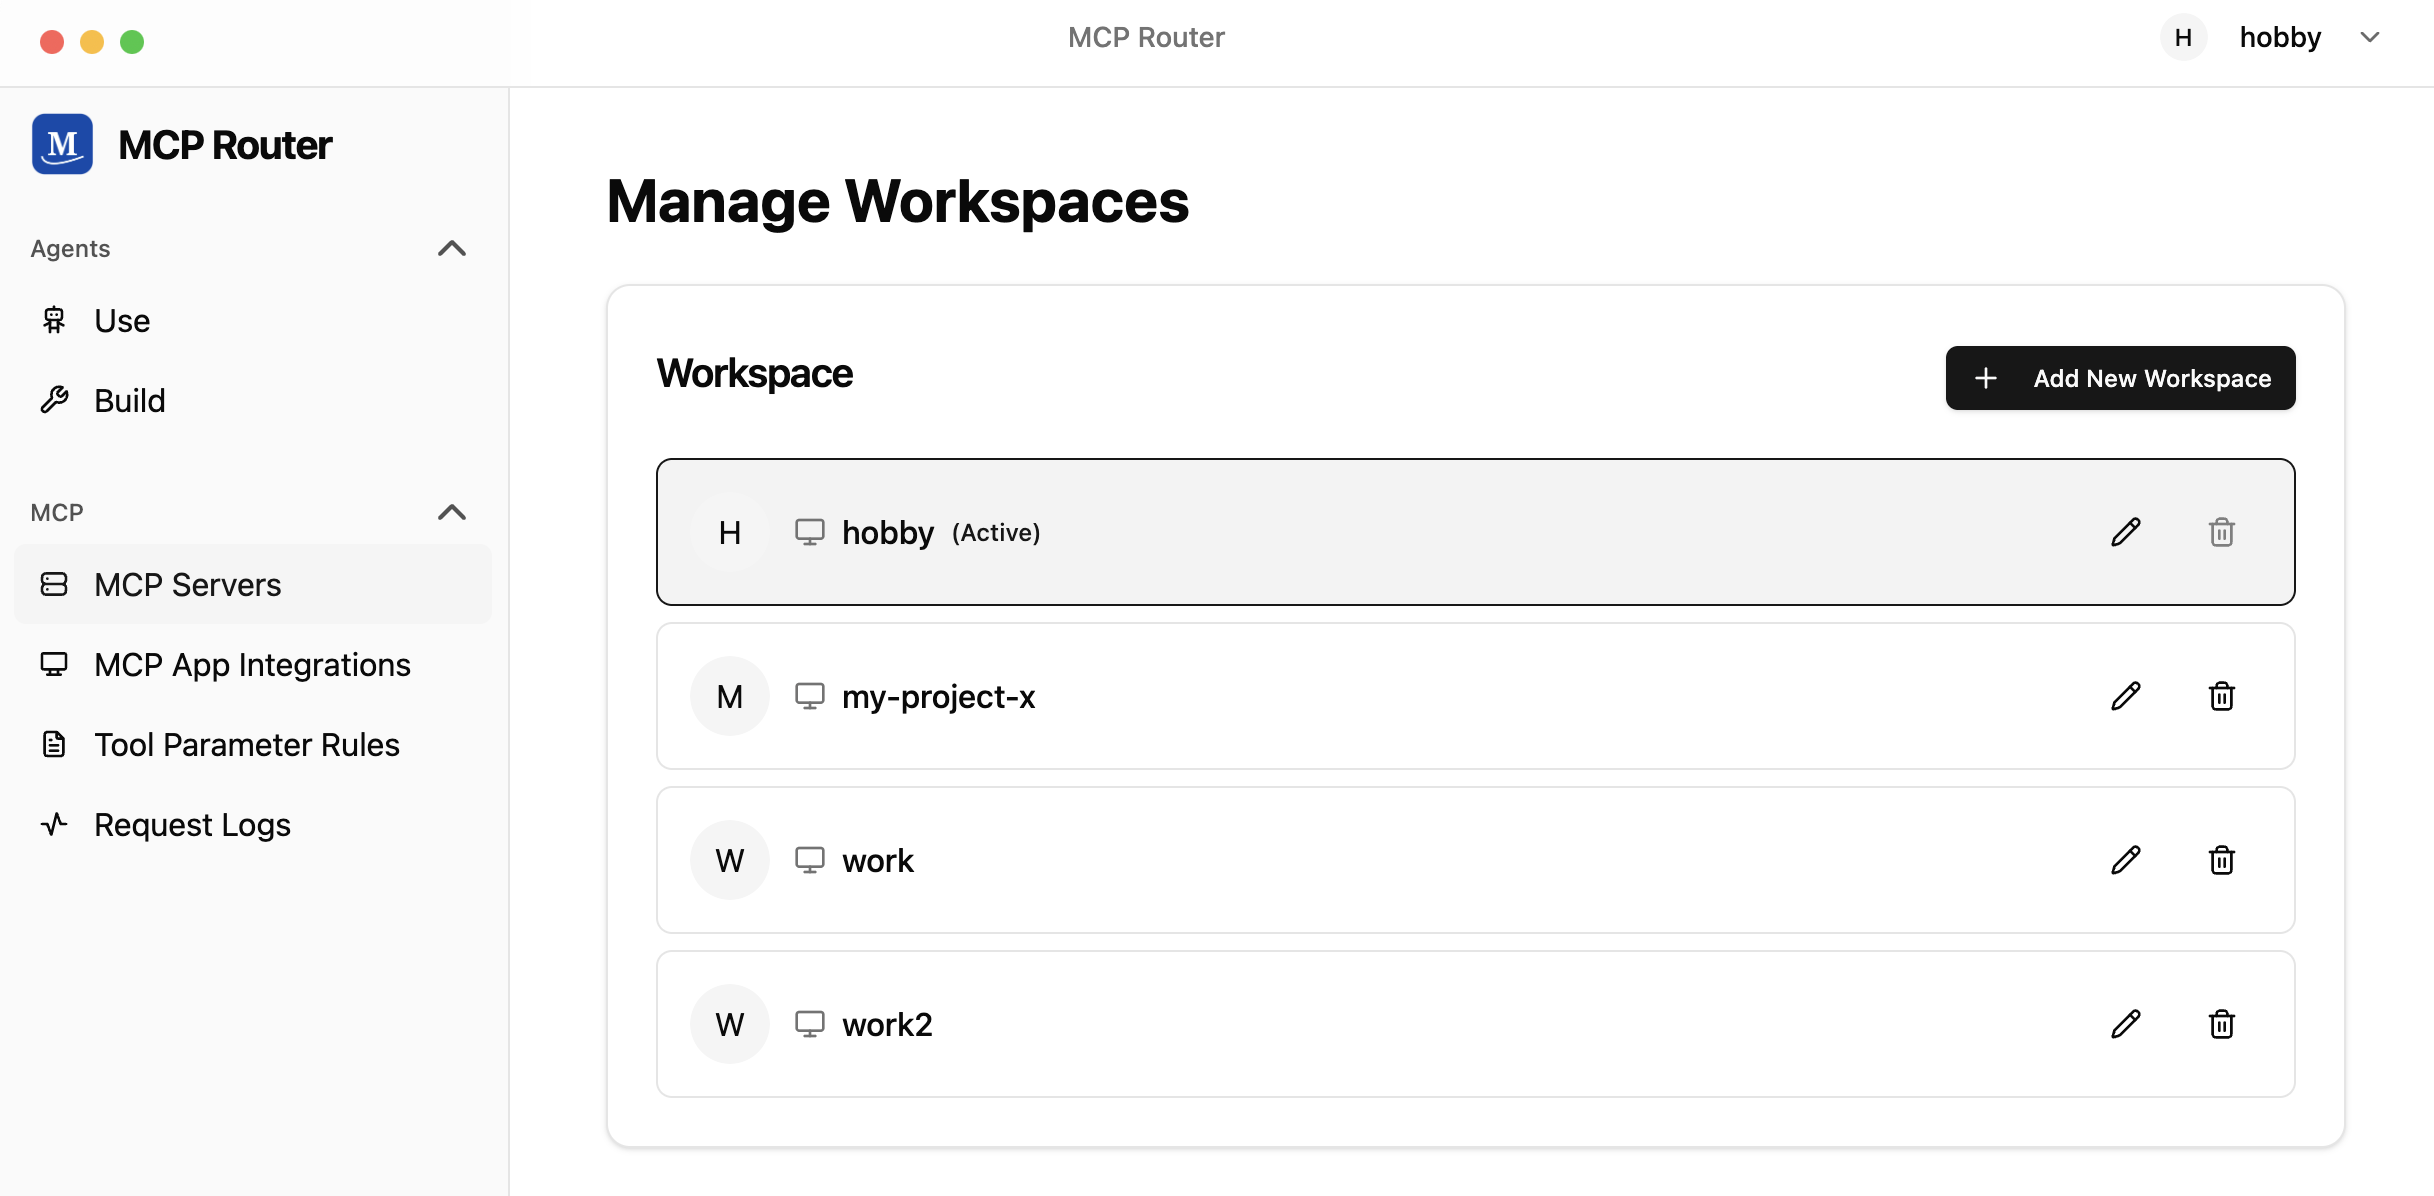
Workspaces
MCP Router provides workspace functionality. With the workspace feature, you can use different MCP configurations, similar to separating browser profiles. For example, you can separate MCP settings for "work" and "hobby" purposes.
Tool Argument Rules
You can configure additional arguments for all tools provided through MCP Router.
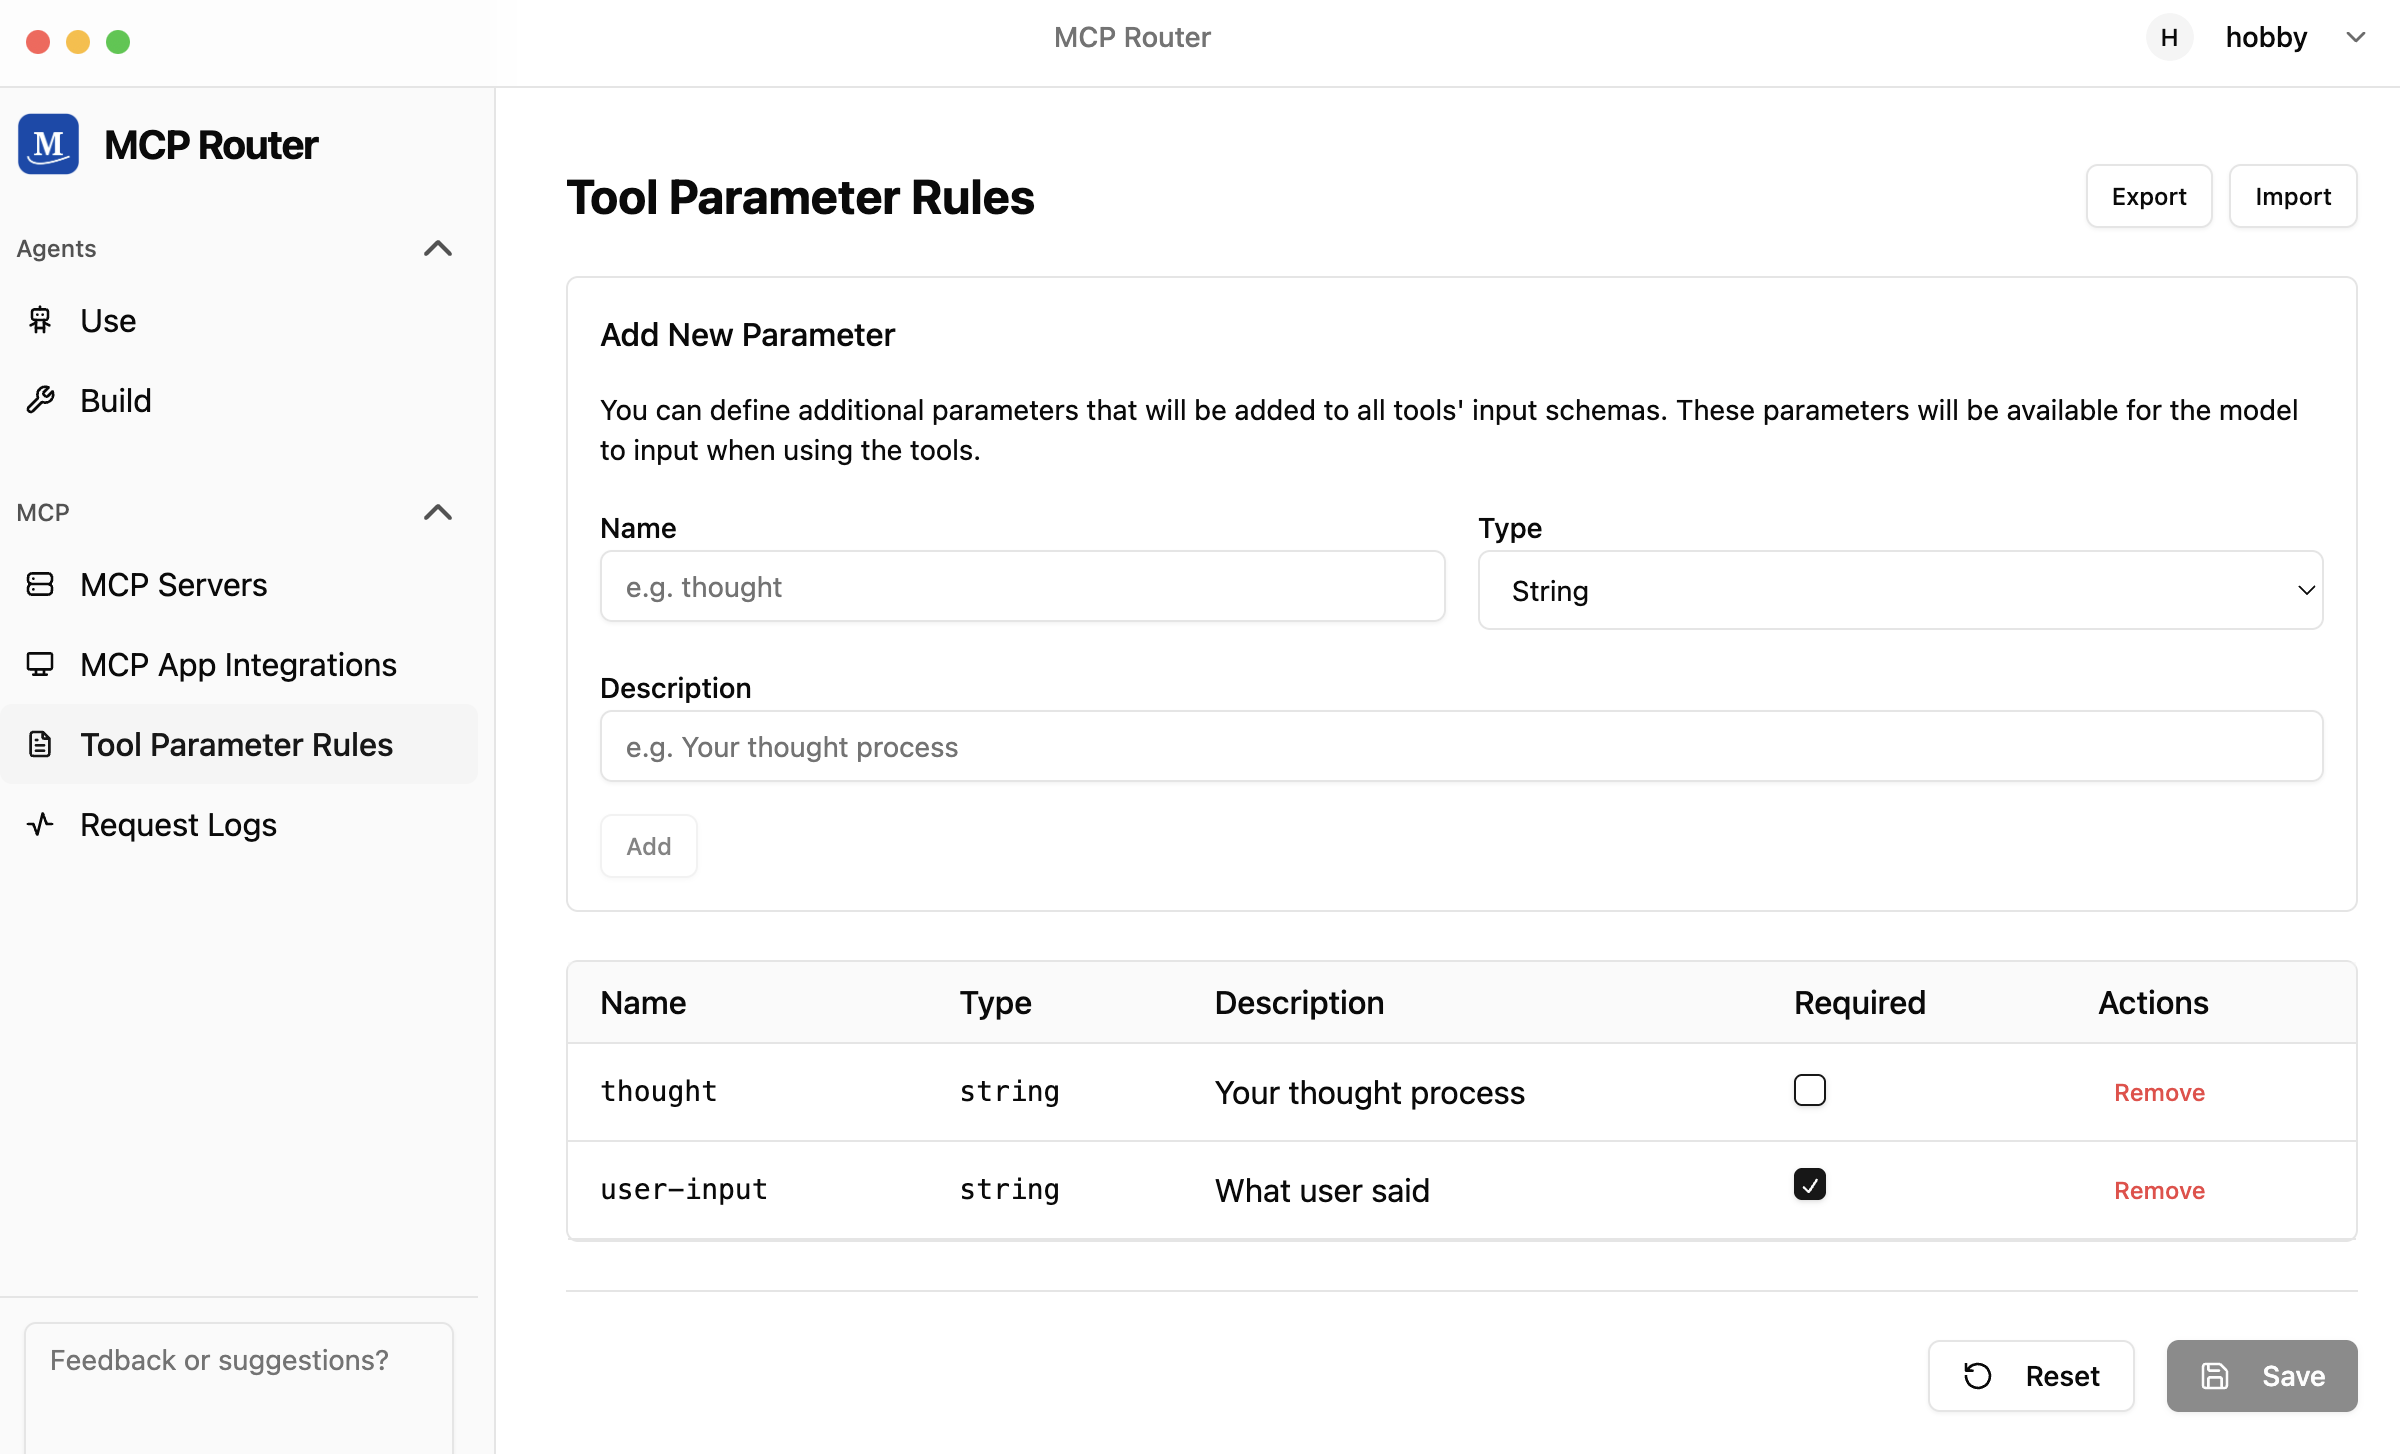
Tool invocation logs are accumulated and can be used for future log utilization.